Why this comparison matters
Think of digital impression systems like a kitchen lineup: each tool changes the flavor of the final plate. Photogrammetry is one technique on that line, and you decide whether it’s the sous‑vide or the sauté pan. It pairs especially well when you route models into a dental resin 3d printer for predictable, repeatable parts — but the choice depends on texture, speed, and tolerance. This piece compares photogrammetry against the usual suspects so lab managers can pick the right tool for the recipe at hand.
How photogrammetry works, explained like a mise en place
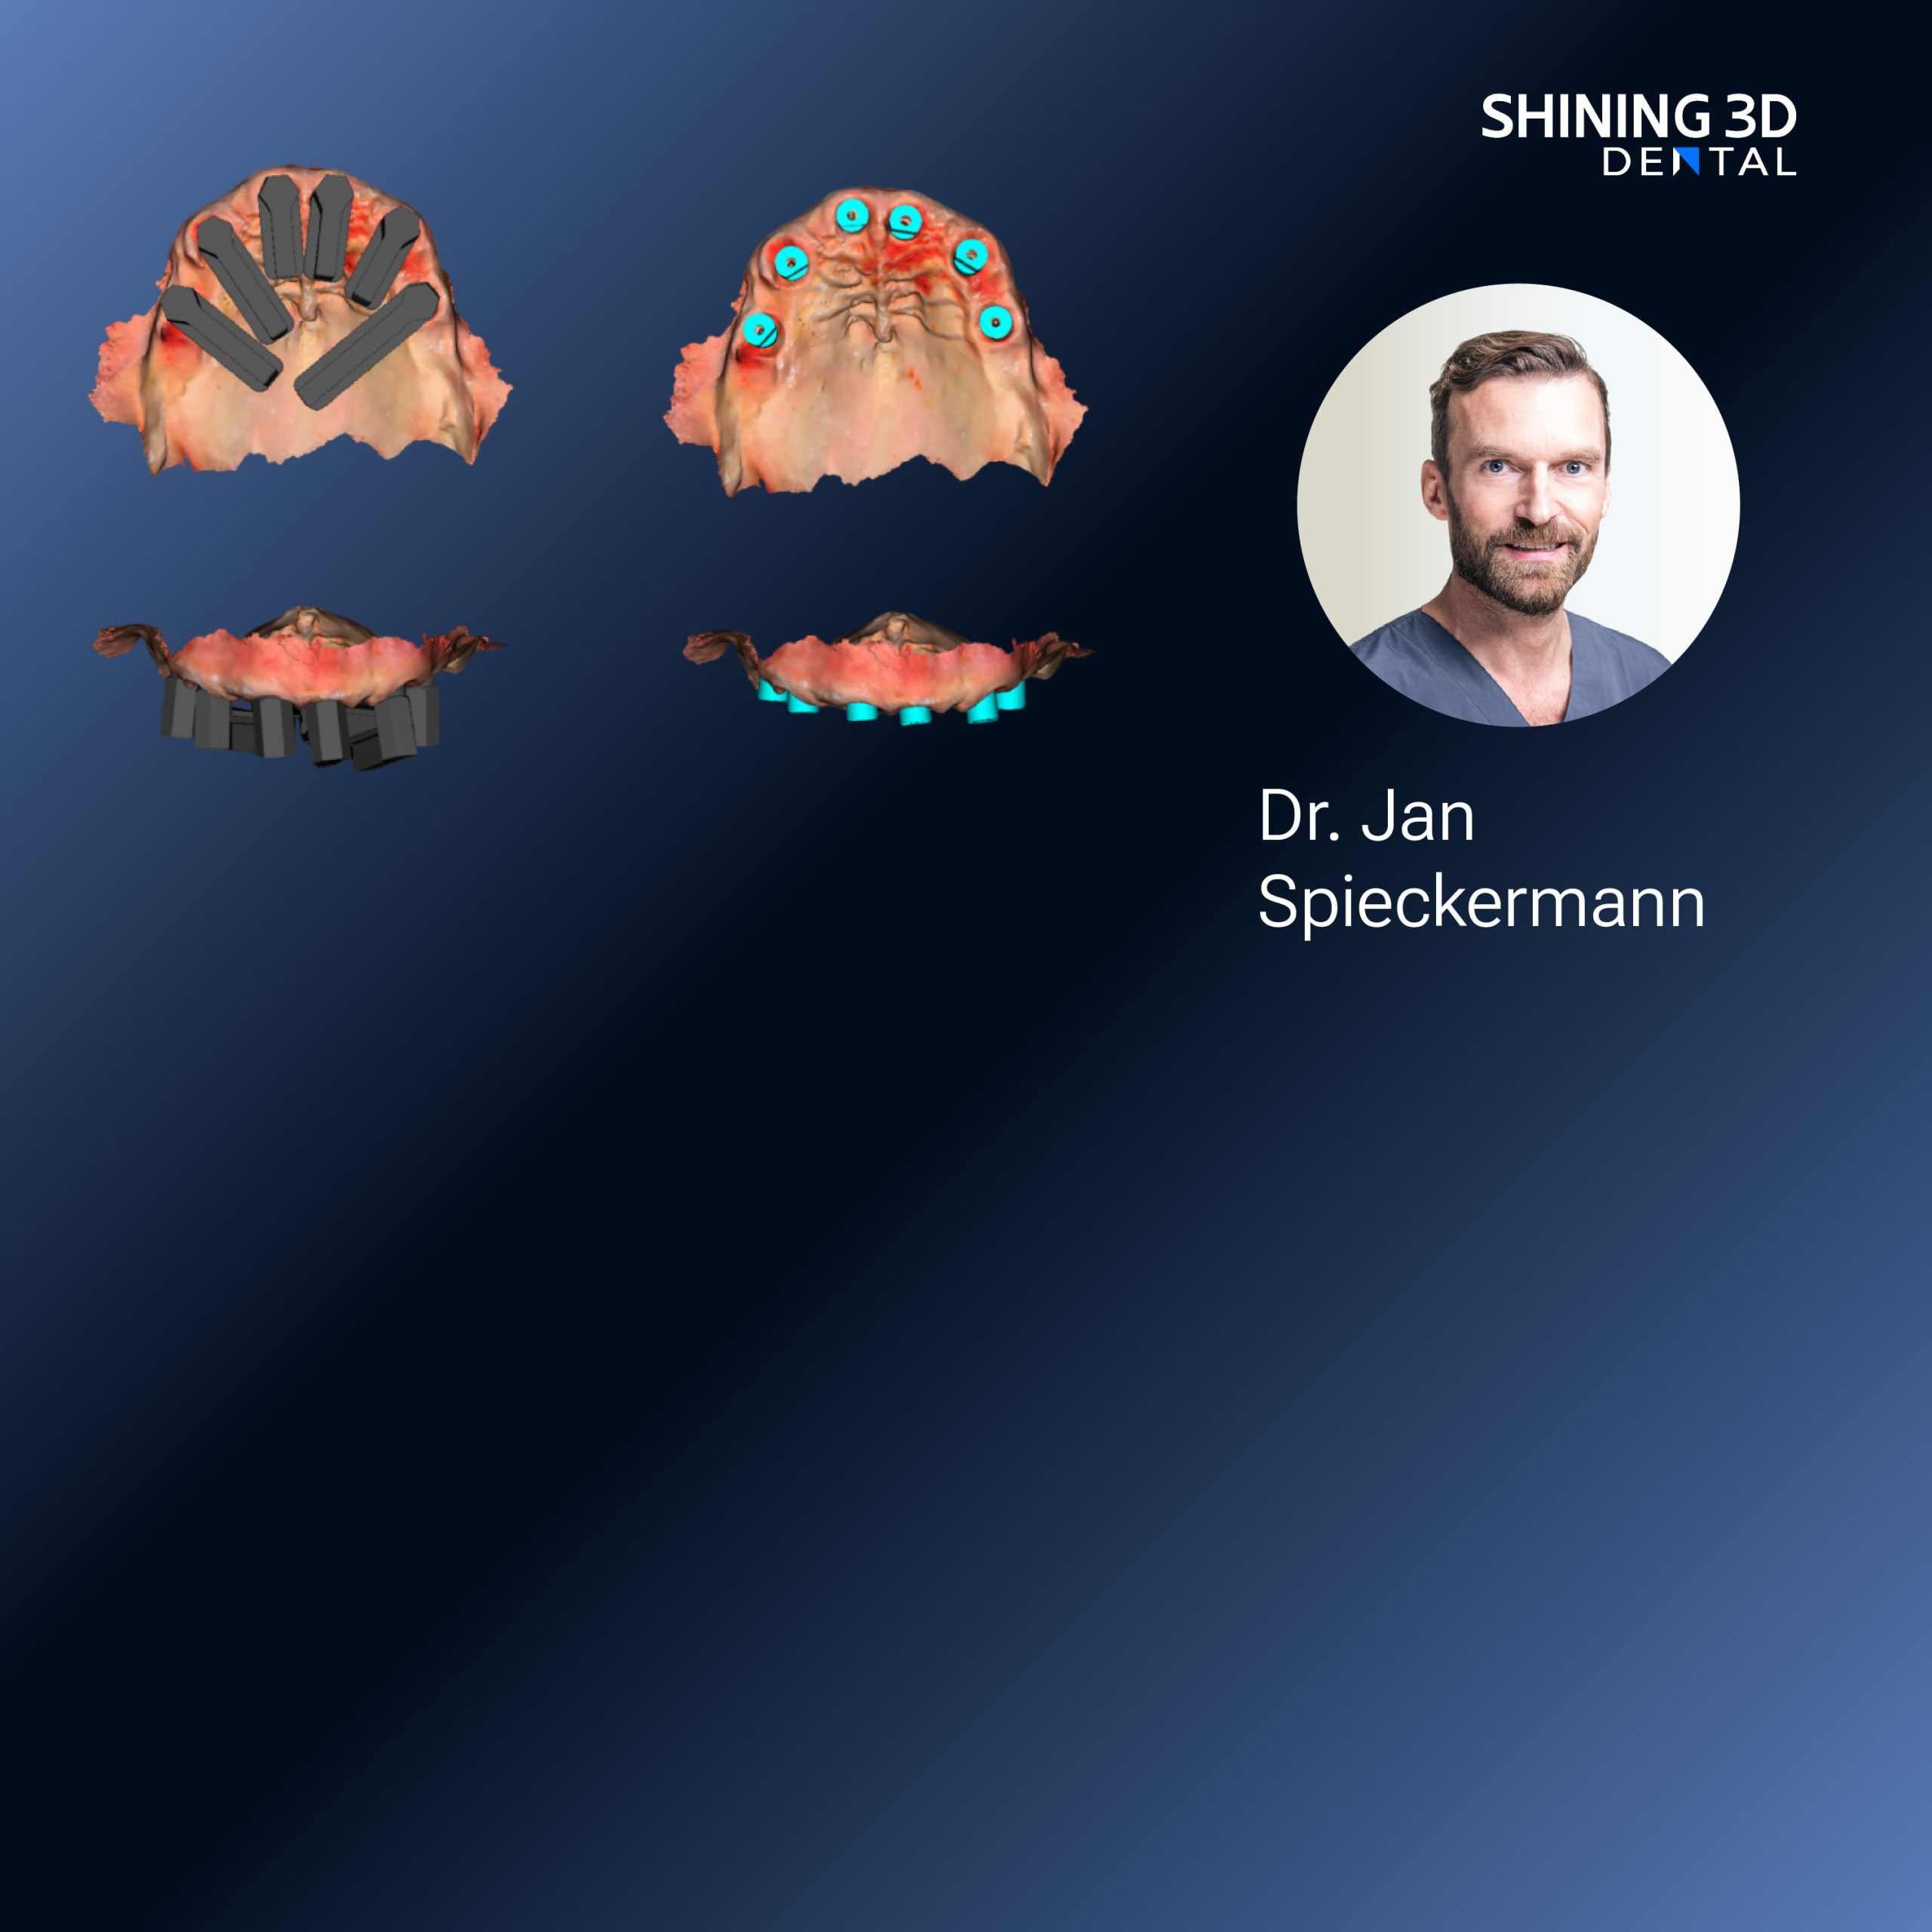
Photogrammetry uses many overlapping photographs to reconstruct 3D geometry. Imagine taking dozens of close, consistent shots of a roast from every angle, then stitching them into a single, high‑resolution image. The scanner maps points across images, triangulates positions, and yields a 3D mesh. No laser stripe, no structured light projector; just calibrated optics, controlled lighting, and smart matching algorithms. It excels when you need full‑arch records without contact, but it relies on careful setup — steady mounts, consistent exposures, and usable surface texture.
Direct comparisons: where photogrammetry shines and where it sizzles less
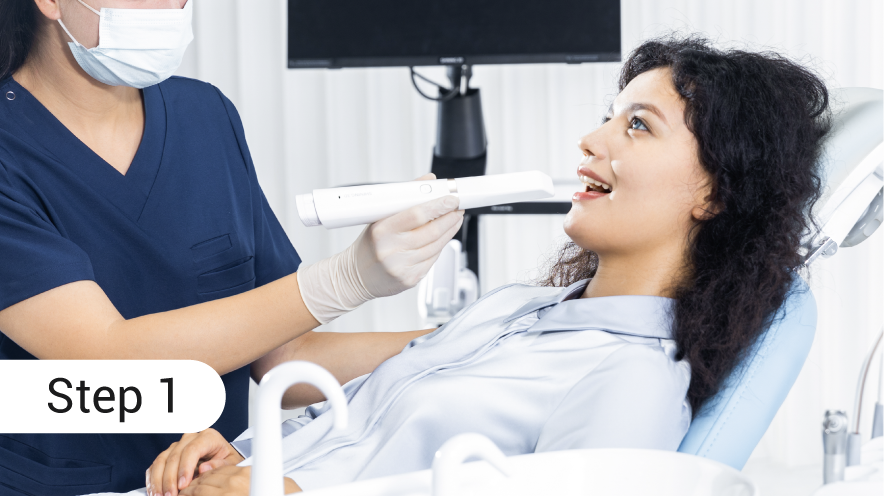
Photogrammetry versus intraoral scanners: Photogrammetry captures full‑arch relations fast and with low distortion over long spans; intraoral scanners win on immediate chairside capture and soft‑tissue detail. Photogrammetry versus structured‑light desktop scanners: Photogrammetry tolerates larger assemblies and complex jaw relations; structured light often gives cleaner local detail for individual dies. Photogrammetry versus CBCT: CBCT provides bone and internal anatomy; photogrammetry gives surface fidelity without radiation. Choose by what you need to reproduce: the whole assembly or microdetail of a single crown.

Workflow pairings and common mistakes — cookbooks for reliable outcomes
Start with good lighting and neutral matte sprays when surfaces are highly reflective. Mark reference points or use textured positioning blocks for smooth enamel; photogrammetry needs visual anchors. Avoid moving parts during capture — movement ruins alignment. Export formats should preserve scale; verify your chain from scan to CAM to printer with a calibration object. A frequent error: assuming more photos automatically improves results — redundant images without diversity of angles adds noise rather than clarity.
Real‑world anchor and field validation
At major industry shows like IDS in Cologne, labs demonstrated integrated lab floors where scan systems feed directly into a 3d printer for dental lab, illustrating production lines that combine full‑arch photogrammetry with resin printing for try‑ins and guides. That kind of trade‑show demo reflects what many regional labs adopt: calibrated workflows, QA plates, and cross‑discipline checks between scanning and printing to keep tolerances consistent. Practitioners trained in both scanning and post‑processing report that routine calibration and a checklist cut rework substantially.
Alternatives evaluated — quick tasting notes
Intraoral scanner: best for single‑visit restorations and soft tissue capture. Structured‑light desktop scanner: best for detailed dies and small assemblies. CBCT: indispensable for implant planning and bone‑level data. Photogrammetry: best for full‑arch spatial relationships, implant position capture on multiple analogs, and cases where non‑contact, wide‑span geometry matters. Combine where it fits — a hybrid approach often gives the cleanest result.
Final synthesis — the recipe that reduces surprises
Pick photogrammetry when you need accurate spatial relationships over long spans and when your lab can control lighting, markers, and camera rigs. Match it to downstream tools that respect its strengths: careful mesh cleanup, verified STL export, and predictable output to printers and mills. Labs that mix the right scanning method with disciplined QA get fewer remakes and cleaner fit checks, and that’s exactly the kind of practical workflow you see demonstrated by SHINING 3D DENTAL across clinical and lab settings — a measured, tested approach rather than a one‑size promise.