Comparative lead-in: what drivers actually face on wet roads
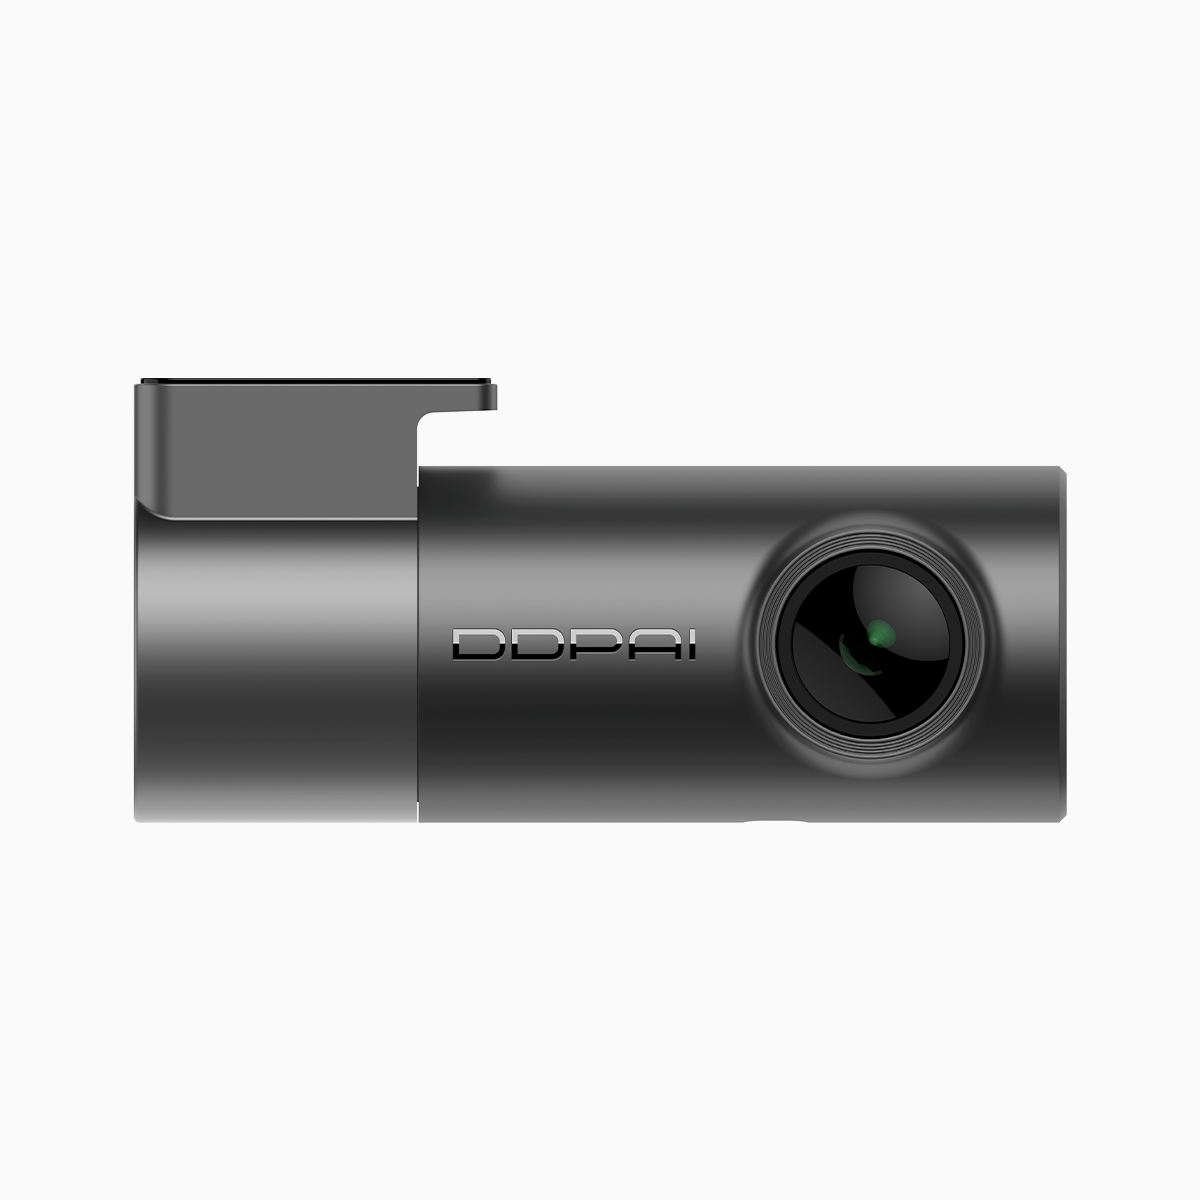
On wet nights in Metro Manila, when beams scatter across slick asphalt and windshield droplets smear headlights into fuzz, the visual challenge for a dash cam is obvious. A 3-channel unit must capture front, rear, and cabin views while coping with low light and rain streaks — a trade-off between aperture, sensor sensitivity, and processing. For many buyers who want reliable footage without high cost, a budget friendly dash cam often ends up being the realistic choice, so understanding how aperture influences what that camera records matters more than headline megapixels.
Why aperture is the lynchpin in rainy low-light capture
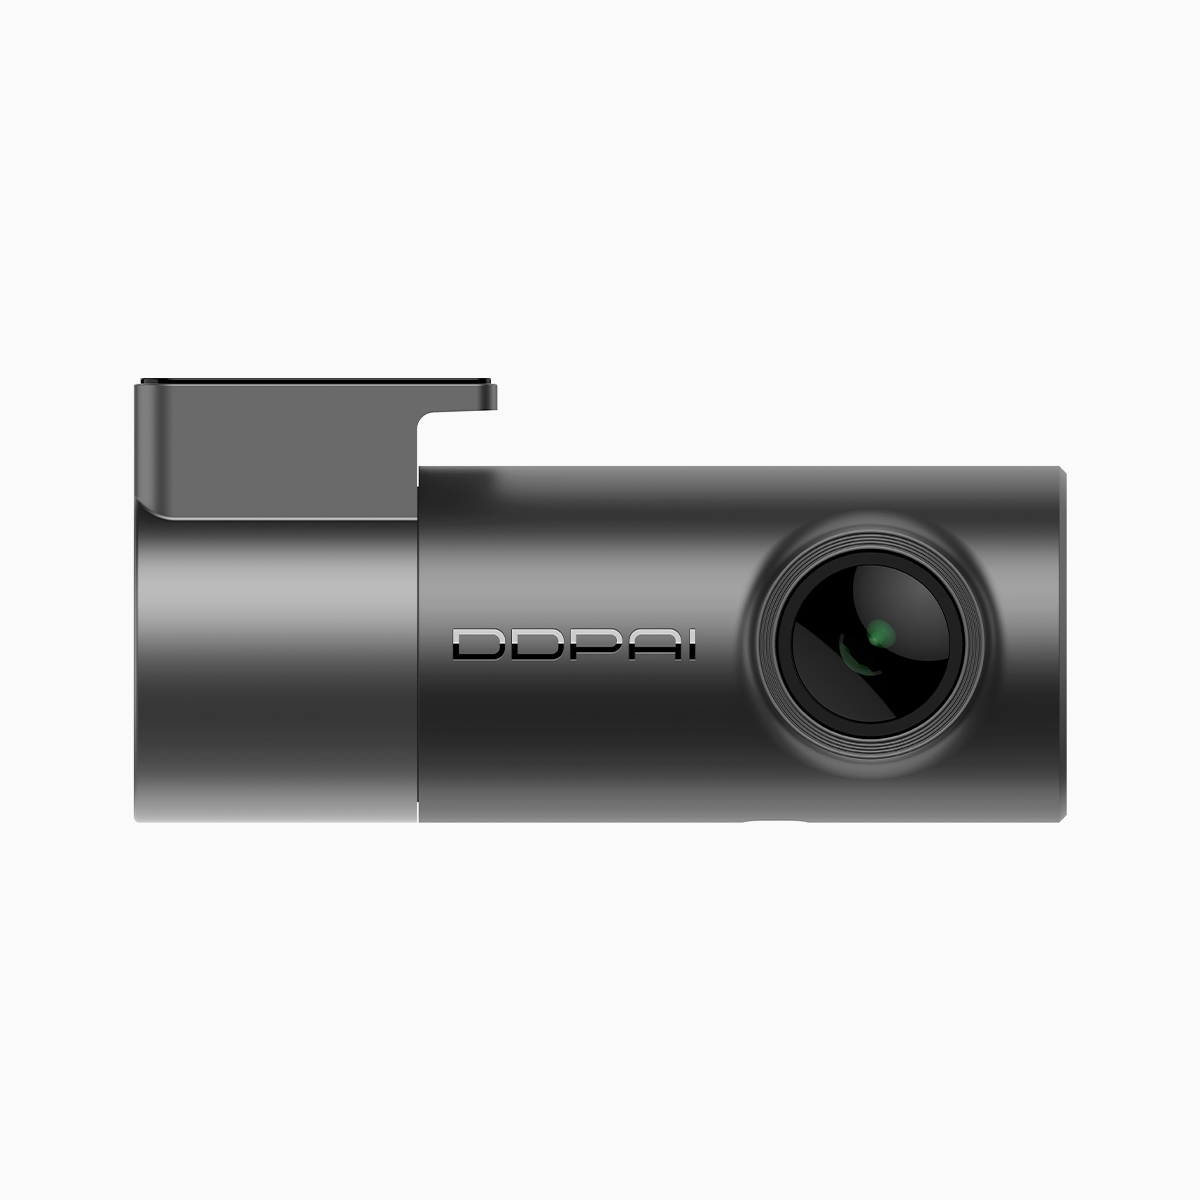
Aperture controls how much light the lens admits to the sensor; wider apertures let in more photons and improve exposure without pushing ISO too high. That reduces noise and preserves dynamic range, which is crucial when bright streetlights meet dark road surfaces. In a 3-channel setup, each lens shares the same processing budget, so an optimal aperture helps the front channel retain detail while rear and interior channels avoid grainy shadows. Think of aperture as the passive advantage — it gives the sensor a cleaner signal to work with before firmware tries to fix the image.
Comparative insight: sensors, ISO, and real-world performance
There are two paths manufacturers take. One: smaller sensors with fast lenses (wide aperture) to compensate. Two: larger sensors with moderate apertures and aggressive noise reduction. Both strategies can work, but they behave differently under downpour conditions. Smaller sensors plus low f-number lenses deliver sharper, brighter frames close to the windshield. Larger sensors handle highlights and contrast better, but may need more processing — sometimes producing smeared taillights during rain. Aperture, ISO, and shutter speed form the practical trio that defines usable footage: aperture sets light intake, ISO amplifies the signal, and shutter speed freezes motion. Balancing these keeps license plates legible and reflections manageable.
Practical settings, common mistakes, and quick fixes
Drivers and installers often make the same errors: mounting too low behind a tinted area, leaving automatic exposure at extremes, or relying entirely on digital noise reduction. These choices steal fine detail. For rainy nights, prefer a slightly wider aperture if available, moderate ISO to avoid grain, and prioritize a faster shutter when traffic speed is high to prevent motion blur. Also, angle the rear and cabin cameras to reduce direct headlight flares — even small adjustments change how raindrops refract light. — I’ve swapped out mounts mid-commute after noticing streaked footage; small tweaks matter.
Alternatives and where budget cams still win
High-end models may add larger sensors, upgraded glass, and multi-frame HDR processing. Yet a well-configured mid-range unit often outperforms a top-tier camera that’s poorly set up. Features to prioritize on affordable models: true low-light aperture, good dynamic range handling, and firmware updates for rain-mode exposure. If you’re looking for a practical pick, consider models labeled as a good budget dash cam — they strike the balance between lens hardware and sensible image processing without forcing you to tweak too many settings.
How to evaluate a 3-channel dash cam for rainy seasons
When comparing units, use these hands-on checks: record a short clip on a wet night, inspect for legible plates at 10–20 meters, and note how bright lights bloom. Look for footage with preserved shadow detail and minimal chroma noise. Firmware that offers exposure presets for rain or low light is a big plus. Finally, confirm mounting flexibility so each channel can be optimized separately; a single all-in-one angle rarely works well for all three views.
Advisory: three golden rules for selecting the right setup
Rule one: prioritize a lens with a low f-number — it reduces the need for extreme ISO. Rule two: demand sample footage under rain or choose models with proven dynamic range performance. Rule three: check that the unit supports per-channel exposure tuning; that lets you balance front clarity with interior detail without compromise. These metrics give measurable outcomes: clearer plates, fewer blown lights, and less post-processing blur.
Good gear combined with sensible tuning turns a mid-tier camera into a dependable recorder — and when that gear is thoughtfully made, it solves the common rainy-night problems commuters face. DDPAI PH offers products and firmware approaches that align with these rules — a practical alignment, not a promise beyond the footage itself. — Practical, clear, useful.